Introduction:
In Borderlands 4, the universe is once again filled with chaos, but now, the bosses are more formidable than ever. These apex predators are not only a test of your firepower but also your strategy, teamwork, and adaptability. Whether you’re diving into the mayhem solo or teaming up with your squad, knowing the ins and outs of each boss fight is crucial to securing victory. In this strategy guide, we’ll take you through the most challenging bosses in the game, offering tactical advice, optimal gear recommendations, and helpful tips to ensure you come out on top.
1. Malachar, the Anointed Tyrant
Boss Location: Sanctuary Falls
Difficulty: ★★★★☆
Combat Focus: Heavy artillery, shield bursts, and phase-shifting attacks.
Tactics and Strategy:
Malachar is a nightmare of heavy firepower and rapid phase shifts, making him an unpredictable challenge. Here’s how you can handle him:
- Shield Disruption: His shields are nearly impenetrable unless you have a weapon that can break them down quickly. Use Ion Cannons or Elemental Weapons (corrosive or shock) to deal with his shields and expose his vulnerable health bar.
- Avoiding Phase Shifts: Malachar’s ability to teleport can disorient you, so keep your radar on high alert. Consider using Phasezerker Mods to increase your mobility and avoid his surprise attacks.
- Attack Strategy: Focus on hitting his weak points (the glowing spots on his arms) when his shield is down. During phase-shifts, keep your distance and use explosive weapons, such as Grenade Launchers, to deal area damage while avoiding close-range combat.
- Co-Op Tip: In multiplayer, assign one player to focus on Malachar’s movements and communicate closely with your team. This allows you to avoid phase-shifts more effectively while the rest deal damage to his shields.
Recommended Gear:
- Ion Cannons (to break his shields)
- Explosive Grenade Launchers
- Phasezerker Mod (for mobility)
2. The Conqueror of Starlight
Boss Location: The Glittering Abyss
Difficulty: ★★★★★
Combat Focus: Telekinetic attacks, massive AoE damage, and summonable minions.
Tactics and Strategy:
This boss battle takes place in an arena filled with cosmic energy and summoned minions, making it a high-stakes, high-damage encounter.
- Focus on Minions First: The Conqueror summons waves of minions, and they can overwhelm you if you let them. Prioritize clearing out these adds to reduce incoming damage and prevent being cornered.
- Avoiding Telekinetic Attacks: The Conqueror uses psychic powers that can launch debris at you. The best defense against this is to stay mobile. Use Jetpacks or Rapid Sprint Mods to dodge these attacks and avoid staying in one place for too long.
- Timing Your Attacks: The Conqueror’s weak point is exposed when he prepares for a massive AoE attack. Use this as your window to unleash your most powerful abilities or a Phasewalk for an all-out assault.
- Co-Op Tip: Assign one player to deal with the minions while the other two focus on the Conqueror. With three players, you can keep the pressure on while maintaining control of the arena.
Recommended Gear:
- Jetpack or Sprint Mods (to dodge psychic projectiles)
- Heavy Machine Guns (for sustained damage)
- Phasewalk Class Mod (for evasion and quick counterattacks)
3. Mox’Ruin, the Wraith of the Void
Boss Location: Voidspire Citadel
Difficulty: ★★★★★
Combat Focus: Shadow clones, teleportation, and debuffing attacks.
Tactics and Strategy:
Mox’Ruin is one of the most challenging bosses in Borderlands 4, thanks to his ability to create shadow clones and teleport around the arena.
- Deal with Clones Efficiently: When Mox’Ruin creates clones, focus on spotting the real one—it’s usually the one taking more damage. Use Elemental Weapons with splash damage to hit multiple targets, clearing out clones quickly.
- Teleportation and Positioning: Mox’Ruin frequently teleports behind players and can land debilitating attacks. Keep moving and maintain high alert. Tracking Mods can help you predict his teleportations and prevent surprise attacks.
- Stay Out of His Debuff Zones: Mox’Ruin has a nasty habit of laying down debuff zones that reduce your damage output. Keep moving and use Fire Resistance Shields to mitigate the worst of these effects.
- Co-Op Tip: Have one player stay on Mox’Ruin’s tail while the others clean up clones. A Tactical Commander with crowd control abilities is perfect for this fight.
Recommended Gear:
- Elemental Weapons (for dealing with clones)
- Tracking Mods (to predict Mox’Ruin’s movements)
- Fire Resistance Shields (to mitigate debuffs)
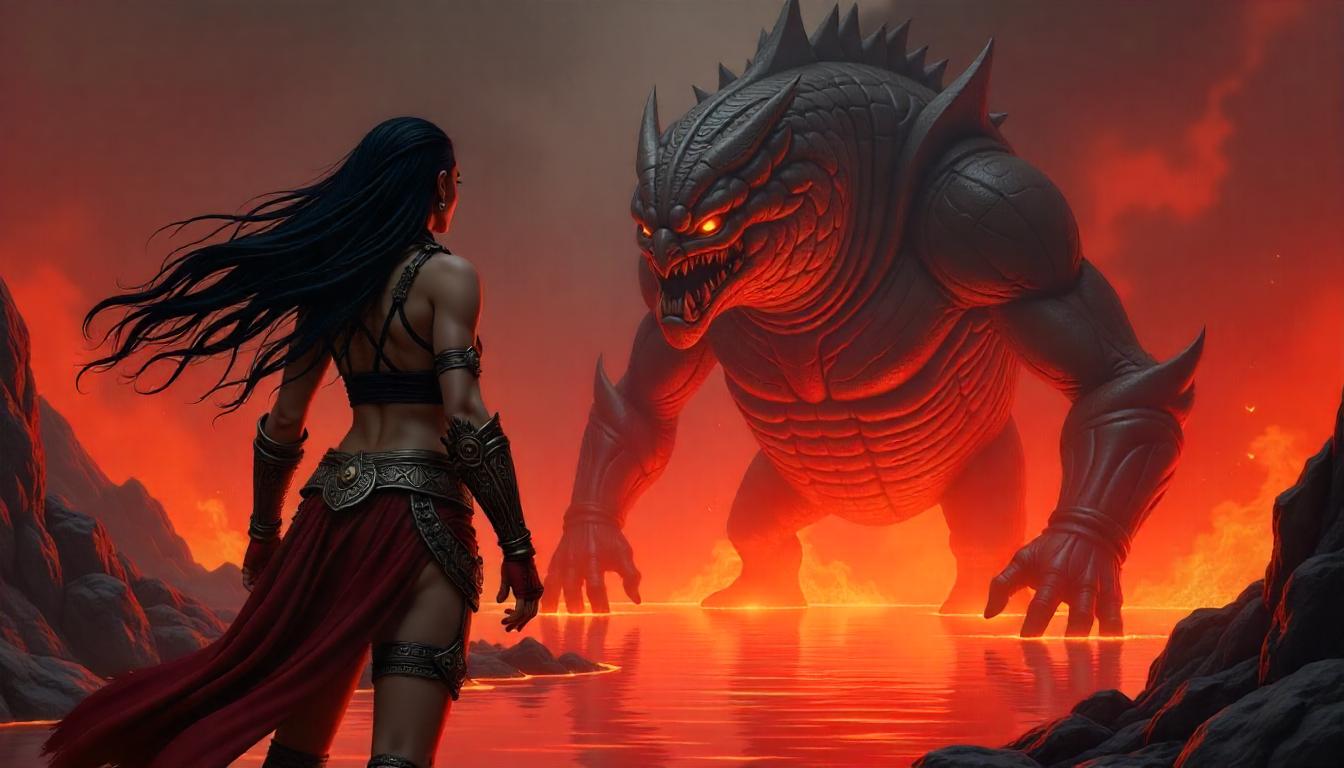
4. Ironjaw, the Titan of Inferno
Boss Location: Magma Forge
Difficulty: ★★★☆☆
Combat Focus: Lava-based AoE attacks, high-damage melee hits, and fireball barrages.
Tactics and Strategy:
Ironjaw’s battle is primarily about environmental awareness and sustained combat.
- Avoiding Lava Pools: Ironjaw constantly generates pools of lava in the arena. If you get caught in these, your health will drop rapidly. Aerial Mobility Mods like Wings of Fury are essential for staying out of the lava and positioning yourself for attacks.
- Melee Countering: When Ironjaw goes for melee attacks, be ready to dodge or counter with Shock Weapons to disable his power and keep him from dealing major damage up close.
- Timing Your Burst Attacks: Ironjaw is vulnerable after his fireball barrage, which can be avoided by running in circles or using Jetpacks to stay airborne.
- Co-Op Tip: In multiplayer, keep one player focusing on dodging the lava while another attacks Ironjaw’s weak points (located on his back). The third player can deal with his fireball barrages or keep the arena clear of additional threats.
Recommended Gear:
- Jetpacks or Wings of Fury (for aerial mobility)
- Shock Weapons (to interrupt Ironjaw’s melee attacks)
- Fire Immunity Gear (for surviving lava pools)
Conclusion:
Borderlands 4’s toughest bosses are a true test of your skills, preparation, and ability to adapt under pressure. By utilizing the right gear, knowing each boss’s attack patterns, and coordinating effectively with your team, you’ll be ready to take on the ultimate challenges. Keep honing your skills, and these massive foes will soon be nothing more than another conquered obstacle in your path to glory.
Good luck, Vault Hunter.


Leave a Reply